ALL CATEGORIES

SKU:
TECHNICAL SPECIFICATIONS

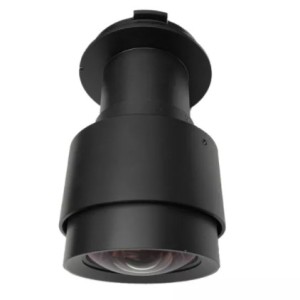
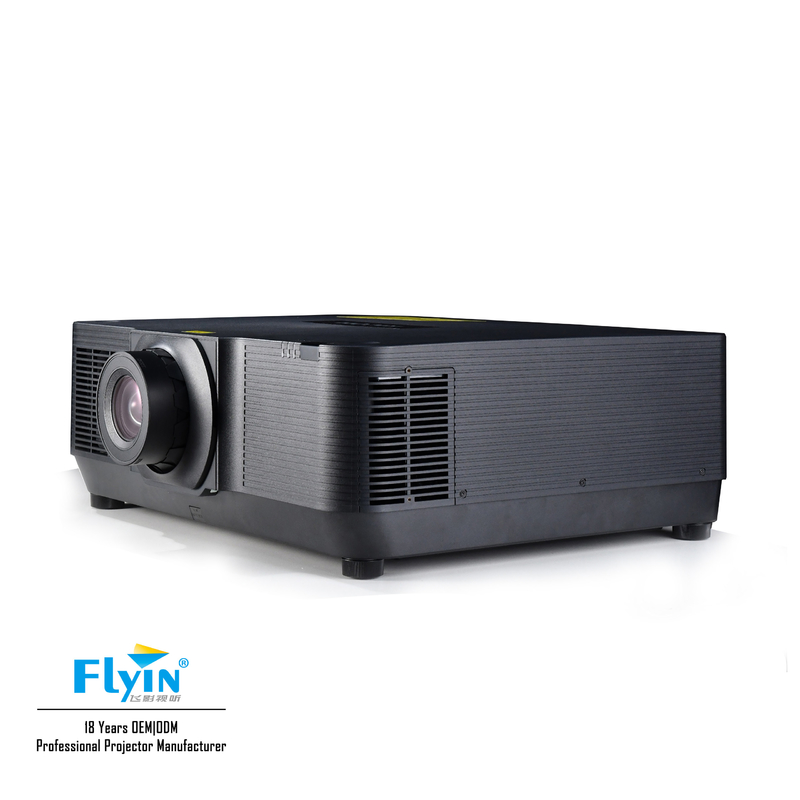
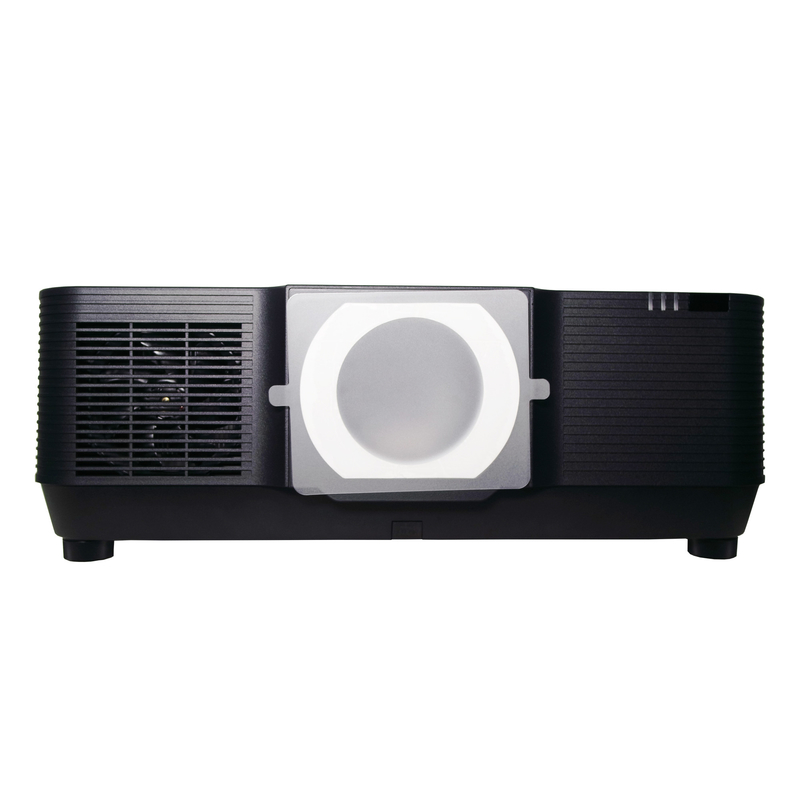
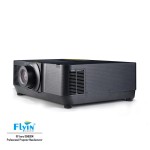
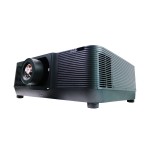
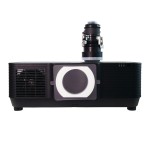
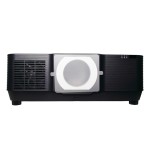
Laser Projector EL-M906U not only pumps out up to 20,000 lumens but also boasts sealed optics and a laser light engine that can mean a long and maintenance-free life.

* DisplayPort Version 1.3
* HDMI 2.0 (x2) with HDCP 2.2
* Computer RGB in (x2, 15-pin D-Sub)
* RS-232C Serial Port
* USB (Type A, for accessory power, mouse, service)
* Wired LAN (RJ-45)
* HD base T In (RJ-45)
* HD base T Out (RJ-45)
* Audio in (3.5 mm)
* Audio out (3.5mm)
* 3D Synchronization (mini DIN 3 pin)
* Remote Control extension (3.5mm)
Specification
Main Spec | Projector Type | Liquid Crystal Display 3x0.76”WUXGA | |
Chip Size | 3*0.79' | ||
Native Resolution | WUXGA (1920×1200) | ||
Brightness | 20,000 Lumens | ||
Uniformity | 90% | ||
Contrast | 3000000:1 | ||
Aspect Ratio | 16:10:Native / 4:3 Compatible | ||
Light Source | Type | Laser Technology | |
Life | Standard :20000 hours Eco Mode:25000hours | ||
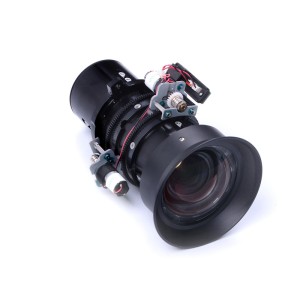
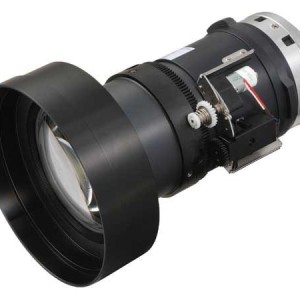
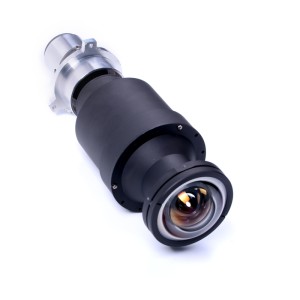
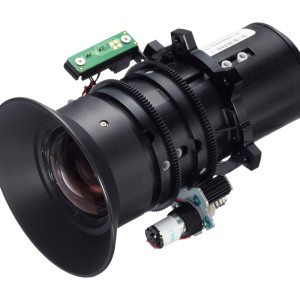
projector lens | Projector Lens | 1.3-3.02:1/2.3x (20000) | |
Throw Ratio | (0.36~5.50) | ||
Keystone Correction | H | ±50° | |
V | ±30° | ||
Projection Method | Ceiling,Front,Rear | ||
Input | DVI-Dx1 | ||
HDMI 1.4(SupportHDCP*3)x1 | |||
15-pin Mini-Dsubx1 | |||
HDbaseT*4x1 | |||
Wired Remote x1 3.5mm | |||
RJ45×1(LAN Control) | |||
RS232(D-sub 9pin)x1 | |||
USB-A*1 (5V/1.5A) USB-B *1 | |||
3G-SD *1 (Option) | |||
Output | 15-pin Mini-Dsubx1 | ||
HDMI 1.4(Support HDCP*3) OUTx1 | |||
3D-Sync x1 | |||
Power Input( Voltage&Frequency) | 100-240V AC±10%,50/60Hz | ||
Power Consumption | Normal:850W,ECO:750W | ||
Case Material | Molded Plastic | ||
Standby Power Consumption | <0.5W | ||
Dimension DxWxH | 600*218*503mm | ||
Net Weight | about 28.5 kg | ||
Noice | Normal:35dB ECO:33dB | ||
Working Temperature*5 | High Altitude | 0m-2500m(>1500m Using High Altitude Mode) | |
Temperature | 5-40℃, | ||
Humidity | 10%-85% | ||
Accessories | AAA Battery ×2,Remote Control ×1,Power Cable×1,VGACable ×1,CD-ROM(User Manual)×1, Quick installation manual, warranty card, Lens | ||


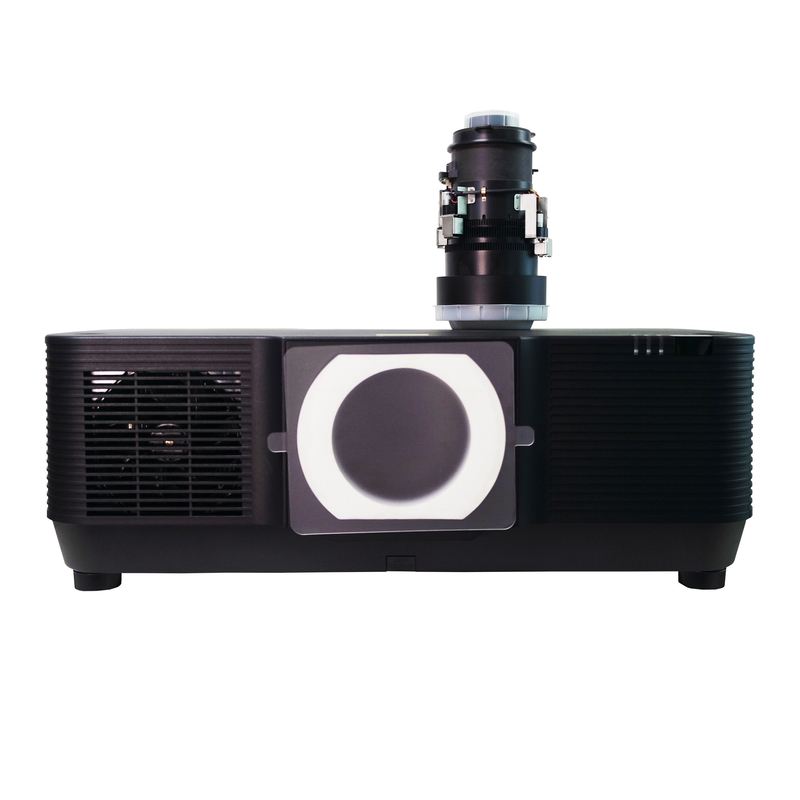
Replace lens step ,
1. Remove the dust cover from the projector
2. 2. Prepare the projector lens
3, Insert the lens into the projector with the arrow on the lens label facing up.
4, 4. Turn the lens clockwise.
Turn until you hear a click.
The lens is now attached to the projector.


Remove the lens
Preparation:
1. Turn on the projector to display the image.
2. Hold LENS RELEASE button for more than 2 seconds.
The lens position will be moved to the original position.
3. Turn off the main power switch and unplug the power cord.
4. Wait until the projector chassis is cooled enough to handle.
5. When the release button at the bottom of the lens mount on the front panel of the projector is fully pressed, turn the lens counterclockwise.
* Lens release
3. Slowly pull down the lens from the projector.
* After removing the lens, install the lens cover (front and back) that comes with the lens
before storing the lens.
* If no lens is about to be installed on the
projector, please install the dust cover attached
to the projector.
* Do not touch or remove any other component except the lens and parts related to it.
Otherwise, you may experience product failure, electric shock, fire, or other incidents.
* Make sure model of the lens is compatible with your projector before installing it.
* When replacing the optional lenses, it must be done by a professional.During the replacement process, pay attention to mechanical damage and thermal burns of the lens.
* For details on lens and its installation, please call local dealers.
* Be careful in removing the lens. Do not drop it.
* When replacing the optional lens, just for safety reasons, please be sure to cut off power to avoid electric shock fire and other safety accidents.